

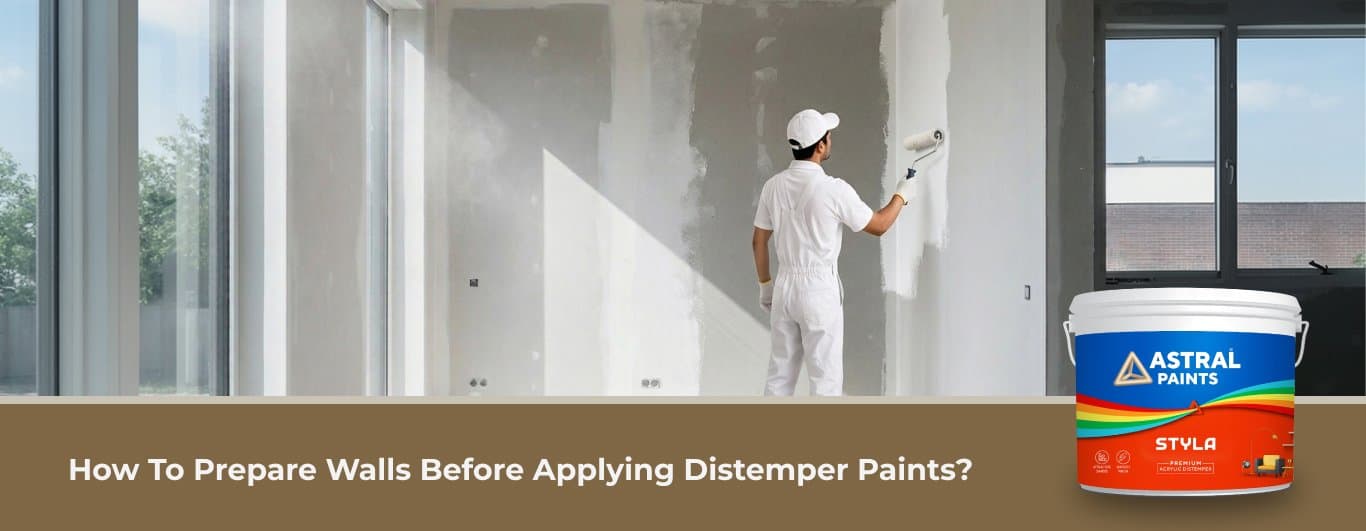
How to Prepare Walls Before Applying Distemper Paint : Step-by-Step guide
At a Glance
Preparation is key: over 80% of paint durability comes down to wall prep. If you skip steps, you will get early peeling, flaking and uneven patches.
5 Basic Preparation Stages:
- Substrate Inspection: Confirm wall moisture is below 12% and remove any salt efflorescence or dampness at the source.
- Cleaning & Surface Prep: Clean away dust, grease, mold, and old chalky residue for a solid bond.
- Repair & Leveling: Rake out cracks and fill voids with crack filler. Apply wall putty to give a smooth flat foundation.
- Priming: Neutralize new plaster (allow 28 days curing) and seal porous putty with an alkali resistant wall primer.
- Application & Curing: Dilute acrylic distemper with 300-500 ml water per kg. Apply thin cross-hatched coats, drying 4-6 hours between coats. Allow 24-48 hours for complete curing.
Properly preparing the surface of your interior wall is the most important step in any painting job.
Most homeowners focus only on choosing the shade, but the preparation of your walls will determine over 80% of the quality and durability of your final finish. Paint used on dusty, damp or uneven surfaces will soon peel, flake and form unsightly patches.
Distemper paint is a popular and economical option for modern Indian homes. It provides a smooth, matte finish, breathability for masonry, and good coverage for interior rooms.
However for the best results distemper paint requires systematic surface treatment. If you are painting new concrete or repainting old plaster, a step-by-step preparation process will help ensure strong paint adhesion, and a clean, long lasting appearance.
What are the Core Steps to Prepare Walls for Distemper Paint?
You have to follow strict chronological order to get a smooth, streak-free finish with distemper paint.
No matter what paint you use, if you skip the basic steps, you will almost always have early coating failure. Modern acrylic distemper is extremely durable, but it needs a clean, dry and stable base to perform as it was intended.
Here is a quick high-level summary of the full preparation and application process:
- Pre-Selection & Substrate Check: Ensure wall moisture is below 12% and choose the right paint grade based on your surface condition.
- Surface & Site Cleaning: Dust, grease, loose plaster and chalking residue from previous coatings must be removed.
- Crack Repair & Leveling: Fill the cracks of plaster with crack filler and apply wall putty for a level base.
- Surface Preparation: Prime porous masonry or block salt efflorescence with an alkali resistant primer.
- Topcoats & Curing: Thin your acrylic distemper with clean water and apply thin even coats with proper drying intervals.
Step 1: Pre-Selection & System Compatibility
Before you even begin any physical work, evaluate the chemistry of your wall substrate and the environment conditions. Distemper is water-based paint, primarily designed for dry, interior, masonry surfaces, brickwork, concrete and plasterboards.
| Substrate Compatibility Check | |
| Wall Substrate Type | Preparation & Compatibility Action |
| Fresh Cement Plaster Aged Interior Concrete Existing Distemper Coating Existing Gloss/ Enamel Paint | Cure for 28 days; apply alkali primer Clean dust; sand lightly before prep Scrape loose layers; remove chalking Sand to dull gloss; apply primer base |
Be sure that there is no active moisture in the substrate before choosing your materials. Wall moisture content must be less than 12% on a digital moisture meter before any paint is applied.
If you see white salt deposits, called efflorescence, you’ll need to treat the source of structural moisture first. Trapped water can cause soluble salts to migrate through brickwork , a process called efflorescence .
Use high-grade acrylic distemper where the washability and binding strength is required to be higher and smoother than dry distemper. Always check the manufacturer’s Technical Data Sheets (TDS) for drying times and coverage rates (sq.ft/kg) before you buy your supplies.
Step 2: Surface & Site Preparation
Properly cleaning the surface removes any contaminants that can inhibit bonding. Fresh acrylic distemper will not adhere to the wall if there is dust, oil, soot and loose debris, which will cause premature blistering or peeling.
Step-by-Step Cleaning Method
- Dry Dusting: Use a soft broom or microfiber cloth to dust the entire wall from top to bottom, removing any surface dust.
- Degreasing: Use a sponge dipped in a solution of mild detergent and water to clean any greasy areas or kitchen walls.
- Fungal Treatment: Scrub away mold or mildew using an anti-fungal wash or a mild bleach solution. Then let it sit for 15 minutes and scrub it off.
- Scraping loose paint: Scrape away flaking or blistered paint with a firm putty scraper until you reach solid masonry.
- Removing Chalky Residue: Old coats of distemper paint often break down into loose powder. The chalk layer can be scrubbed off the wall with water and a stiff brush.
- Rinsing & Drying: Use fresh water to wipe all cleaned areas to remove detergent residues. Allow the walls to dry for 24-48 hours.
Step 3: Direct Application Steps for Repair and Leveling
Repairing surface defects creates a flat base that prevents uneven paint absorption. Deep dents, nail holes, and cracks absorb paint at different rates, leaving noticeable dark patches across your room.
Granular Repair Instructions
- Rake Hairline Cracks: Use the corner of a sharp painter’s scraper tool to widen narrow cracks. Make a little V groove for the repair compound to get down in the void.
- Fill Plaster Voids: With a 4-inch putty knife, tightly pack the grooved cracks with a quality crack filler or acrylic wall putty. Press down firmly to remove air pockets.
- Wall Putty Application: Spread a thin layer of acrylic wall putty over the entire surface of rough masonry walls using a trowel. “Keep the blade at a 45-degree angle to fill the surface pores evenly.
- Apply Second Coat of Putty: Let the first coat of putty dry for 4 to 6 hours. Apply a thin second coat perpendicular to the first to level the surface.
- Sanding: Once it is completely dry, sand the repaired areas with 180-grit or 220-grit sandpaper. Use a damp cloth to wipe off all fine white powder.
Step 4: Prime the Wall
Determining whether your wall needs a primer depends on surface porosity, age, and chemical condition. A quality wall primer acts as a binding layer between the masonry substrate and your final distemper paint topcoat.
Priming Guidelines
- Neutralize New Plaster: New concrete is highly alkaline and releases moisture as it cures. Allow fresh plaster to cure for a minimum of 28 days. Then apply a coat of alkali-resistant primer to protect from salt damage and chemical burn.
- Sealing Porous Putty: Bare wall putty and porous brickwork will absorb water from water based paint. Sand the putty and apply one coat of water-based wall primer to level the surface suction.
- Color Blocking: When going from dark wall colors to a lighter one, use a coat of white primer. This step hides the old color and reduces the number of topcoat coats needed.
Stir the primer thoroughly and apply it evenly with a 4-inch brush or roller. Allow the primer coat to dry for 6 to 8 hours before applying your topcoat.
Step 5: Apply Distemper and Let it Cure
Proper dilution ratios and exact recoat windows are required to prepare and apply your topcoat. Too much thinner weakens the resin binder in the paint, resulting in poor hiding and reduced durability.
Application Instructions
- Correctly mix paint: Open the container of acrylic distemper and stir the thick paste. Add 300 to 500 ml of clean water per kg of paint, gradually, as per the specification in your product technical data sheet. Keep stirring until you have a smooth, lump-free liquid.
- First Coat: Load with thinned distemper paint using a nylon brush or medium nap felt roller. Paint the first coat on with even, overlapping vertical strokes so the surface is completely covered.
- Observe Drying Window: Let the first coat dry for 4 to 6 hours under normal ventilation. Never recoat over a tacky or wet coat.
- Applying the Second Coat: Apply the second coat perpendicular to the first coat. This crosshatching style covers small brush strokes and provides a uniform matte finish.
- Cure: Leave windows open to provide constant ventilation in the building while applying. Leave the last coat of distemper paint to dry for 24-48 hours before putting back wall fixtures or furniture.
Conclusion
Preparation is the key to a good, lasting finish with distemper paint. It’s tempting to skip steps to speed things up, but spending time to inspect, clean, repair, prime and properly dilute your acrylic distemper will ensure your walls remain vibrant, smooth and peel-free for years to come.
Surface preparation is not something to be considered as an afterthought if you want the best adhesion, coverage and a gorgeous matte finish that will really transform your home.
Frequently Asked Questions
- Can I paint distemper on the wall putty directly?
Answer: Yes, you can apply acrylic distemper on cured wall putty. One coat of wall primer over sanded putty, however, closes porosity on the surface, promotes adhesion, and gives a more uniform matte finish throughout the room.
- How can I tell if my old wall paint is distemper or emulsion?
Answer: Take a damp dark cloth and rub it across your painted wall surface. If white powder rubs off easily on the cloth, your wall has traditional distemper paint. If the cloth comes away clean, your surface is covered with an acrylic emulsion.
- How much water do I add to thin distemper paint?
Answer: Dilution rates are based on product grade and formulation. Generally, 300-500 ml of clean water is needed per kilogram of water-based acrylic distemper paint. Always refer to the label on your paint container for exact mixing directions.
- Why does distemper paint peel off after a few months?
Answer: It is mainly due to moisture trapped in the wall, salt efflorescence, poor surface cleaning or chalky surface paint. Scraping off loose paint, letting walls dry completely and priming correctly will help prevent premature flaking.