

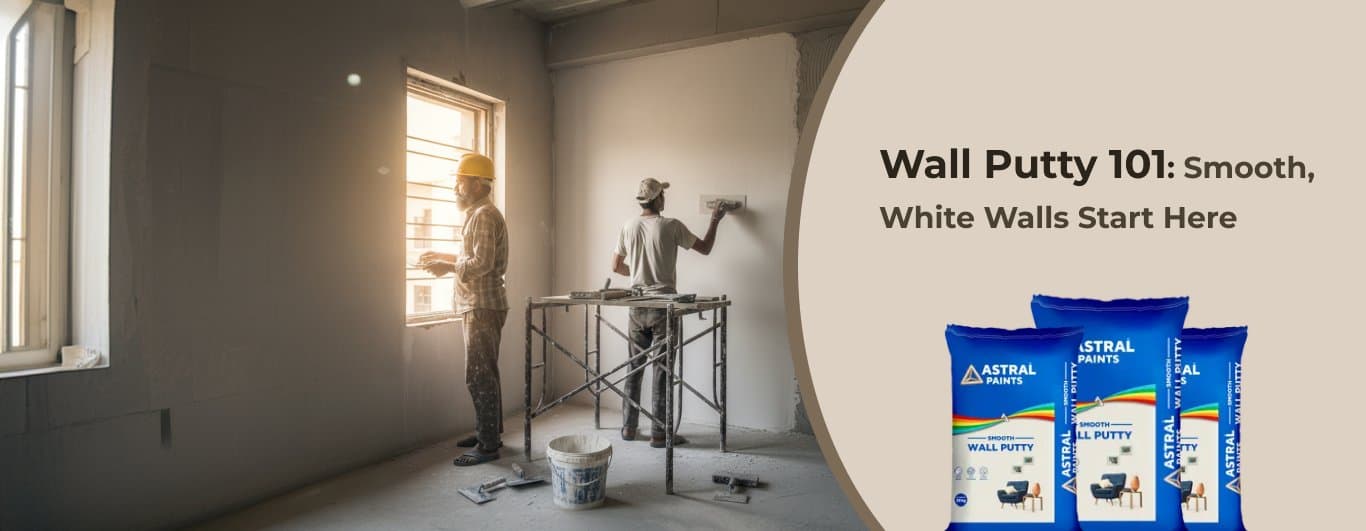
Wall Putty 101: Smooth, White Walls Start Here
A freshly plastered wall hides the tiniest dents, hairline cracks and irregularities — so small you can barely feel them, yet far too real for paint to cover on its own. Wall putty is what fills them. A fine, usually white paste, it levels and smooths the surface before paint goes on, and it is the quiet reason a finished wall looks flawless rather than patchy.
In this guide we explain what wall putty does, the three types in our range and when to use each, and how to apply it well. It is written for the first-time decorator tackling a single room, and for the contractor or project manager puttying at scale.
What wall putty does
Plaster is rarely as smooth or even as it looks. Wall putty fills the cracks, pinholes and bumps and brings the whole surface to one level plane. It does three things at once: it gives paint a smooth, uniform base; it helps the primer and topcoat grip, so the finish lasts; and it adds a measure of strength to the wall. By smoothing hairline cracks and the faint ridges left by the trowel, it lets light fall evenly across the surface instead of catching every edge. Skip it on an uneven wall and even the best paint for walls will show every flaw beneath.
Do you always need putty?
Not every wall needs it. A previously painted wall that is already smooth and in good condition can usually be cleaned, dusted down and primed, ready to paint. But on newly plastered walls — and on older ones where the plaster has worn unevenly — putty is what delivers that premium, glass-smooth finish. When the surface is new or uneven, this is the step that separates a wall which looks merely painted from one that looks properly finished.
The three types of wall putty
Wall putty is not a single product. Our range has three — three putties for three kinds of wall and three kinds of finish, and choosing well comes down to where the wall is and how much moisture it has to face.

| Putty | Form | Best for |
|---|---|---|
| Acrylic Wall Putty | Ready-to-use paste | A fine, smooth finish on interior plastered or primed walls; convenient and water-based |
| Smooth Wall Putty | Cement-based powder | Levelling and filling on interior and exterior plaster; ultra-white, strong base (also Extra Smooth, High Coverage) |
| Waterproof Wall Putty | Cement-based powder | Damp-prone and exterior walls, adding moisture resistance to the base beneath the paint |
Where putty fits in the painting sequence
Putty has a clear place in the order of things: plaster first, then putty, then primer, then two coats of paint. Putty levels, primer seals, and the paint colours and protects — each layer doing its own job. The one thing putty cannot do is stand alone: leave it bare and it soon breaks down, so it must always be sealed with a primer for walls and covered with paint. For the full sequence from bare wall to finish, see our guide to the home painting process.
How to apply wall putty, step by step
Applying putty is mostly about clean prep and thin, patient coats. Here is the sequence, whether you are working with a blade, a trowel or a roller.
- Prepare the surface. The wall should be clean, dry and free of dust, grease and loose material, and new plaster should be left to cure first.
- Mix to the right consistency. For powder putties, add the powder to water and mix to a smooth, lump-free paste following the pack guidance; use it within the stated working time.
- Apply the first coat. Spread a thin, even coat with a putty blade or trowel, working in manageable sections.
- Let it dry, then sand. Allow the coat to dry, then sand it back to knock off ridges and high spots.
- Apply a second coat and sand again. One or two coats are usual; a final light sanding leaves a glass-smooth base.
- Prime, then paint. Wipe off the dust, apply your primer to seal the putty, and follow with the topcoats.
Tips for a smooth finish
- Add powder to water, not the other way round, and mix to a smooth, lump-free paste.
- Keep coats thin. Two thin coats sand flatter and crack less than one thick one.
- Sand between coats and after the last, then wipe the wall down so the primer grips cleanly.
- Let each coat dry fully before the next — rushing traps moisture and softens the finish.
Done well, this hidden layer is what separates a finish that looks flat from one that looks flawless.
Frequently asked questions
Is wall putty really necessary?
On fresh or uneven walls, yes — it is what gives paint a smooth, even base and helps the finish last. A sound, previously painted wall in good condition can sometimes go straight to primer.
What’s the difference between putty and primer?
Putty levels and smooths the surface; primer seals it and helps the paint grip. They do different jobs, and on a fresh wall you usually want both — putty first, primer over it.
Can I paint directly over putty?
Not directly. Putty needs a coat of primer to seal it before the topcoat, otherwise the paint absorbs unevenly and the finish suffers.
How many coats of putty do walls need?
One or two thin coats is standard, with a light sanding between and after. Very uneven walls may need a little more.
Which putty is best for damp or exterior walls?
A cement-based putty — our Waterproof Wall Putty for damp-prone areas, or Smooth Wall Putty for general interior and exterior levelling. Ready-to-use Acrylic Wall Putty suits smooth interior finishing.
The trust of Astral, now in paints
Astral Paints is part of Astral Limited — the same group behind Astral Pipes, Adhesives, Bathware and construction chemicals. The build-quality habit that goes into our pipes runs through our undercoats too, from wall putties to primers, all made to pair with our emulsions for a finish that lasts.
| Getting a wall ready? Explore our putties, primers and 1,400+ shades, find your nearest dealer for advice, or call our helpline on 1800 309 9393. Building professionals can also partner with us — ask about becoming an Astral Paints dealer. |